How to Create a Landing Page Offering a Free Trial with WPBakery Page Builder
PB All-in-one Web Addons for WP Bakery Page Builder is a collection of free and premium add-ons that are clean, easy-to-use, and responsive. It helps you create stunning web layouts with a simple drag and drop, zero coding hassle.
This guide will create a landing page using the UI elements of PB Add-ons for a newly launched software, offering a 30-day free trial to its first twenty customers.
Before we begin, here is a complete guide on the Landing page essentials and why they are a useful marketing tool.
Elements to Create a Landing Page Offering a Free Trial
There is no standard way of creating the right landing page as it all depends on marketing needs. However, there are some main elements you need to keep in mind to build your compelling one.
Elements we will be using for our landing page are:
- A header with a logo
- A hero section with the sign-up offer for a free trial.
- A text block for software’s intro.
- A section with a list of icons presenting features.
- A section showing the company’s partners/clients.
- A footer with social media links.
Steps to Create A Landing Page
We will create a landing page for a newly launched software by following these steps:
Create a New Page
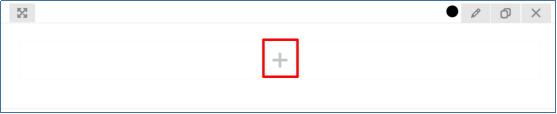
Go to the Admin dashboard, navigate to Pages, and select Add New.
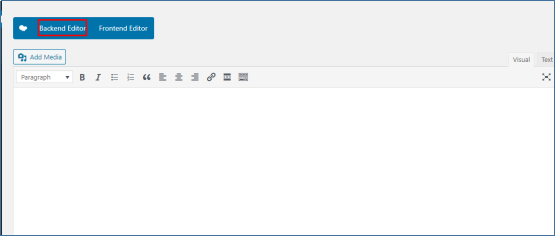
The following page will appear when you add a new page.

Headers
Headlines or headers are vital as they describe what the page is about. It should be strong enough to grab your user’s attention and keep them on the page.
We will add a short, attention-seeking headline for our page using the PB add-ons Headings element and a logo using the single page element of WP Bakery Elements.
- Click on the back-end editor to activate the editor.
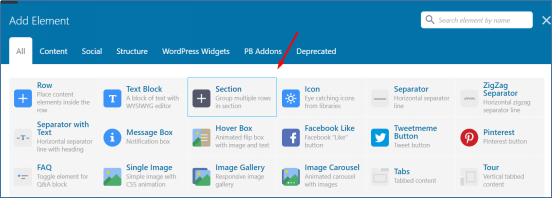
- Click on the add element tab.

- Add a Section.
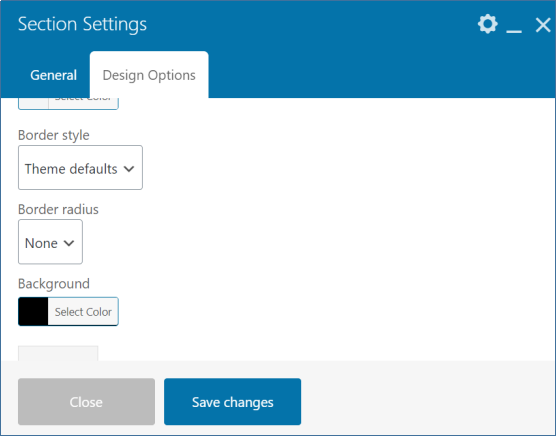
- Edit the section settings from the edit button on the right.

- From the general settings, change the type from default to the Stretch section.

- Next, scroll down to the content position and keep it as per your requirements.
- Move on to the design options tab, customize the padding, change the background color, or add an image (from the media library). Save the changes, and close the dialog box.
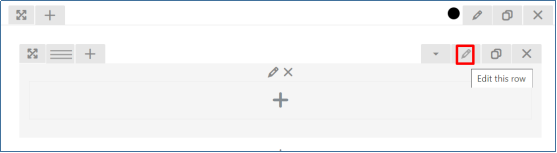
- Now click on the plus button to add a row element.
- Click on the edit button to do the row settings.
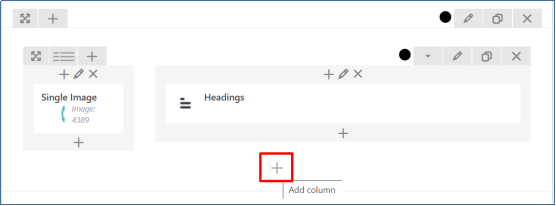
- Next, split the row into two columns by selecting custom layout option 1/4 + 3/4on the top left.

- Click on the first column’s plus button, and add a Single Image Element from the dialog box.
- Edit and customize the Image as per requirements and save changes.
- Now, in the second column, click on the plus button in the added row.

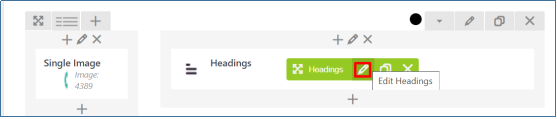
- Navigate to the Page Builder add-ons tab to add the Headings Element.

- Select the Headings Element. A dialog-box for editing will appear.
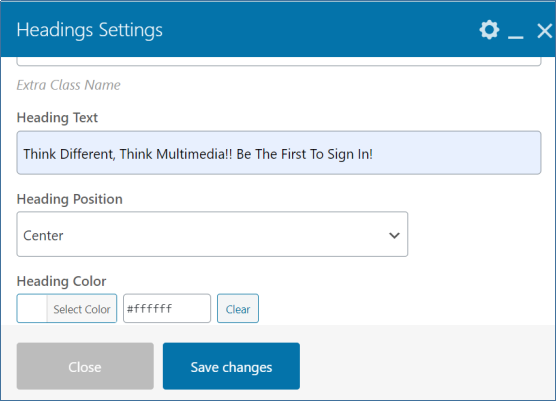
- Add the text, Color, position for the heading. Choose a font family and font style.
- You can also do the editing by hovering the mouse on the heading and clicking on the edit button.
- Save the changes and preview the changes you made by clicking the preview tab on the screen’s right side. The Header will look like this on the preview.

Hero Section
The Hero Section is an integral part of the landing page. The primary purpose of this section is to captivate visitors with relevant content. They not only add value to your landing page but generate revenue as well.
We will add a new section below the Header and add a form for Sign up. The main focus for the users is a Full 30 day trial for its first few customers.
- Click on the plus button below the heading row.
- Select the section from the add elements dialog box.
- This will add a new section to your page. You can now further do the editing by clicking the edit button.
- A dialog box for section settings will pop-up.

- From the Design Options tab, add the Background Image (from Media Library)/Color for the section. Save changes.
- Inside the section, click on the plus button again to add a row element.

- After adding the row, again click on the plus button and navigate to the PB add-ons tab to select the Mail Chimp element.

- A dialog box for settings will appear, as shown below.

The PB Add-ons offer different themes for Mail Chimp Element.
- Select a theme and add the MailChimp API Key for activating the form.
- Add the details for Heading Text, Content, Name and Email Placeholder, and the Button Text.
- Customize the Styles, Color themes, Font Family, and Styles from the MailChimp Form Styles Tab. Save the Changes.
The hero section will look like this on the preview.
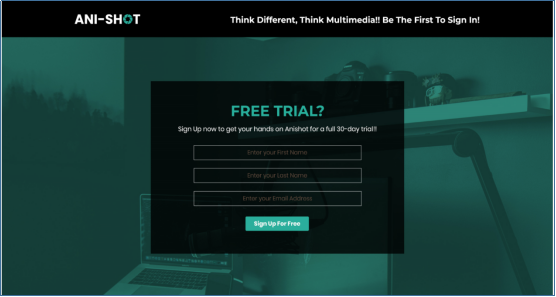
(We have chosen Mail Chimp’s Theme Style 3 for the style displayed above)
Text Block for Software’s Intro
We will now add a brief introduction to the newly launched software with its features to provide relevant information regarding the product to the user.
- Click on the plus button below the Hero section’s last added row to add a section.

- To add the background color to this column, click on the edit button on the right.
- A dialog box for Section Settings will appear. Navigate to the design options tab and select the Background color. Save changes.
- Now click on the plus button in the added section to add a new row.
- Click on the plus button of the added row and navigate to the Page Builder Add-ons tab to add the TEXT BLOCK Element.

- Select the Border Position, Styles, add the heading and text in the text editor, and customize styles as per your requirements.

- Save the changes and preview.
The landing page will look like this on the preview.

Section for Features Using Iconic List
To add features of the software, we will add another section using the Iconic List from the PB Add-ons Element. These icons make the page layout more attractive and entertaining for its viewers and inform them about the software’s most prominent features.
- Click on the plus button below the last added row.
- Add a new Section from the element tab.
- Click on the plus button inside the section and add a new row.
- Next, click on the plus button to add the Headings Element from the PB Add-ons Tab.
- Add the Heading Text “What We Offer” and customize the font family, styles, Color, and border styles.
- Click again on the plus button below the Heading Element to add another row.
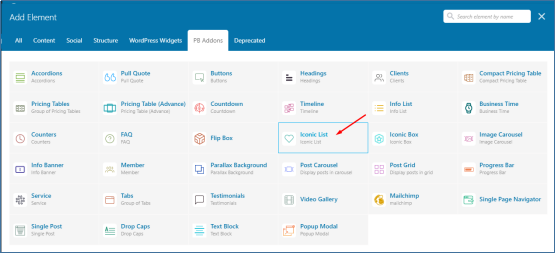
- Next, click on the plus button in the added row to add the Iconic List Element.

- A dialog box will appear. Navigate to the Page Builder add-ons tab to add the Iconic Lists element.
- A dialog box for iconic list settings will appear.

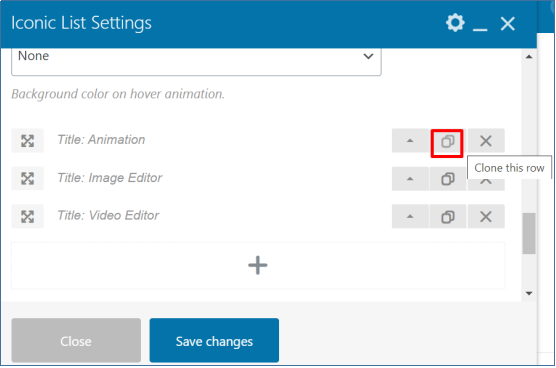
- Customize the settings in the dialog box of the iconic list.
- Add title and description of your features and save changes.
- To add more icons, click on the clone button and add the icons, title, and description, respectively.
- Once all features are added, click on save changes and preview.
The preview will be like this.
![]()
(We have used Theme 1 of the Iconic List from the PB Elements)
Software Sponsor Section Using Clients Element
Visitors do convert into customers when they see some social proof. You can use different PB elements to brand your product like Testimonials, Clients logo, etc. We will use the Client logo to display the partner’s identity: our supporters.
Adding Clients
To add clients to your page, you will first need to add a category to add all the clients.
- From the Admin Dashboard, go to PB clients>>Categories. The following page will appear.

- Add a name for your category. For our page, we will keep it as a trial promotion.
- Next, scroll down and click add a new category to add it to your list.

Now follow the steps below to add clients.
- Go to PB clients from the Admin dashboard.
- Select Add New Client.
- Add your client’s name.
- Enable the checkbox of the category in which you want to add the clients.

- Next, scroll down to the featured image section.
- After adding the image, select Publish on the top right of the page for adding the client to the category.
Follow the same pattern to add more clients to the category list. All of the clients added under this category will be displayed in the block where you add the PB Add-ons Client Element.
Displaying Clients on the Landing Page
- Click on the plus button below the last added row.
- Add a new Section from the elements.
- Again, click on the plus button to add a row element.
- After adding a row, click on the plus button and navigate to the PB add-ons tab to add the PB element Clients.

- A dialog box will appear for settings.
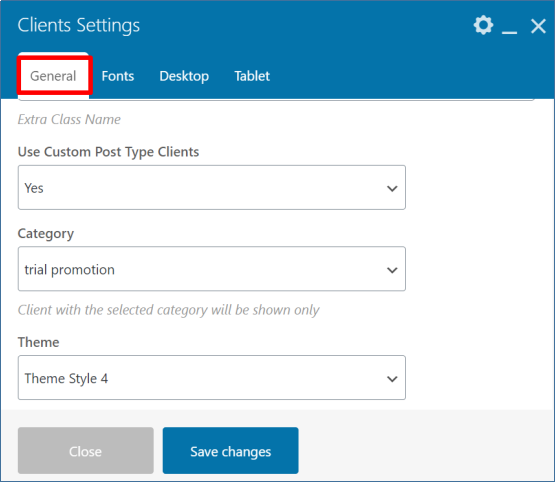
- From the General Settings tab, select custom post type clients, category, and the theme you like.
- We have used Theme 4 of PB elements on our landing page.
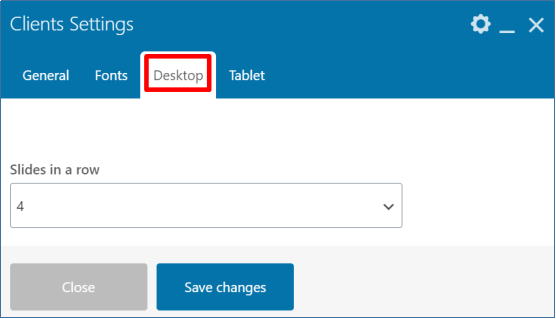
- From the Desktop settings tab, select the clients as 4 to show in a row, for tablet select 3 respectively for responsiveness.
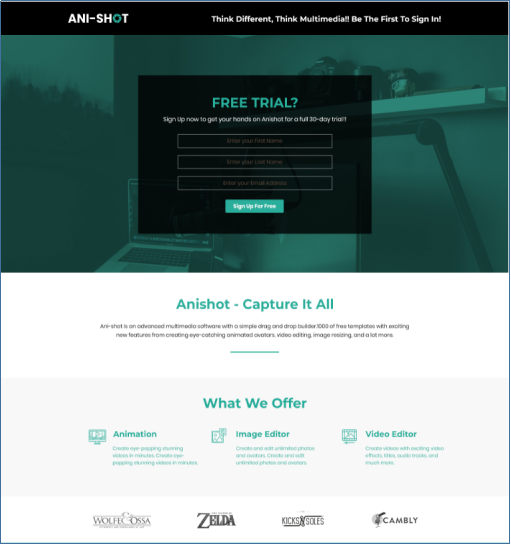
- Save the changes and preview. The preview will be like this.
Footer With Social Media Links:
Social icons on a Landing page means you care about the social presence of your product. Footer is not a dumping ground for keywords and links but can add a nice closure to your landing page with social media links and copyright text.
We will add Social Icon Buttons from the PB Add-ons Button Element in the footer.
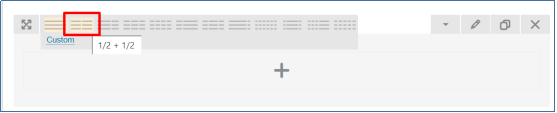
- Add a new row below the iconic list section.
- Split the row into two columns by selecting custom layout option 1/2 + 1/2.
- Click on the edit button to edit the row and add Background Color from the Design Options tab. Save Changes.
- Click the plus button in the first column and navigate to the PB Add-ons to add the Buttons Element.

- From the general settings tab, choose theme style and add the Link (URL).
- From the Button settings tab, add the Icon for the social media platform and customize the shape, size, background color, text color of the button, and save changes.

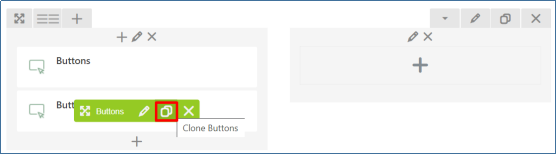
- To add more Buttons, click on the Clone button and change the icons for other social media platforms.
- Click on the plus button in the second column to add a text block.
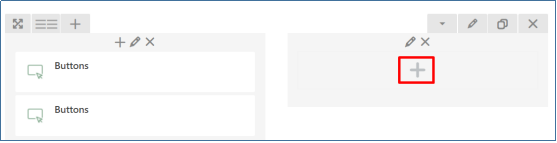
- Add a Text-Block Element from the dialog box.
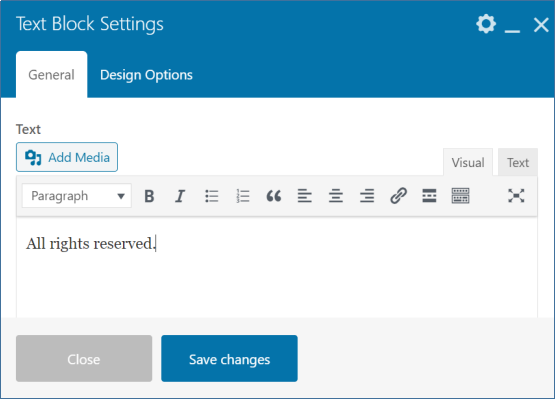
- You can add copyright text or any other text suitable to your requirements. Customize the text from the Text editor and save changes.
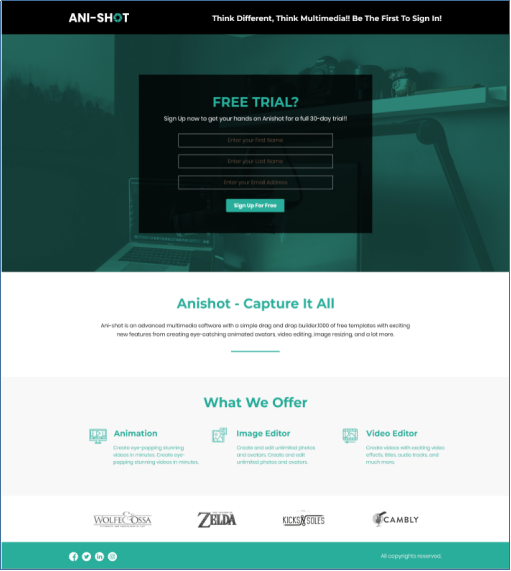
- The Landing page on the preview should look similar to the one below:
NOTE
- By default, WP Bakery Page Builder gives you a blank template.
- WP Bakery also offers a wide range of free and paid themes with various templates for your custom website or landing page.
- If your custom templates or themes does not have an option for a blank template, you can remove the Header and Footer using the custom CSS.(screenshot below)
Conclusion
Landing pages are lead converters. To promote a product, offering a free trial for a limited time is one of the best ways to boost your marketing campaign. And what better option than to add a well-designed landing page to do the magic.
You can design a variety of landing pages using the WP Bakery Page Builder add-ons. It is always recommended to keep a constant check to see if your landing page is not adding more leads and modify it to get the best results.
Was this tutorial helpful? You may also like our guide on Creating a Landing Page for a Newly Launched book using the PB Add-ons. Let us know in the comments section what elements you think are essential for creating a landing page.
